
Academic sessions, classes and promotion
Set the school year, create classes, sections and subjects, open the next session, switch between sessions and promote students with their unpaid fees and hostel beds.
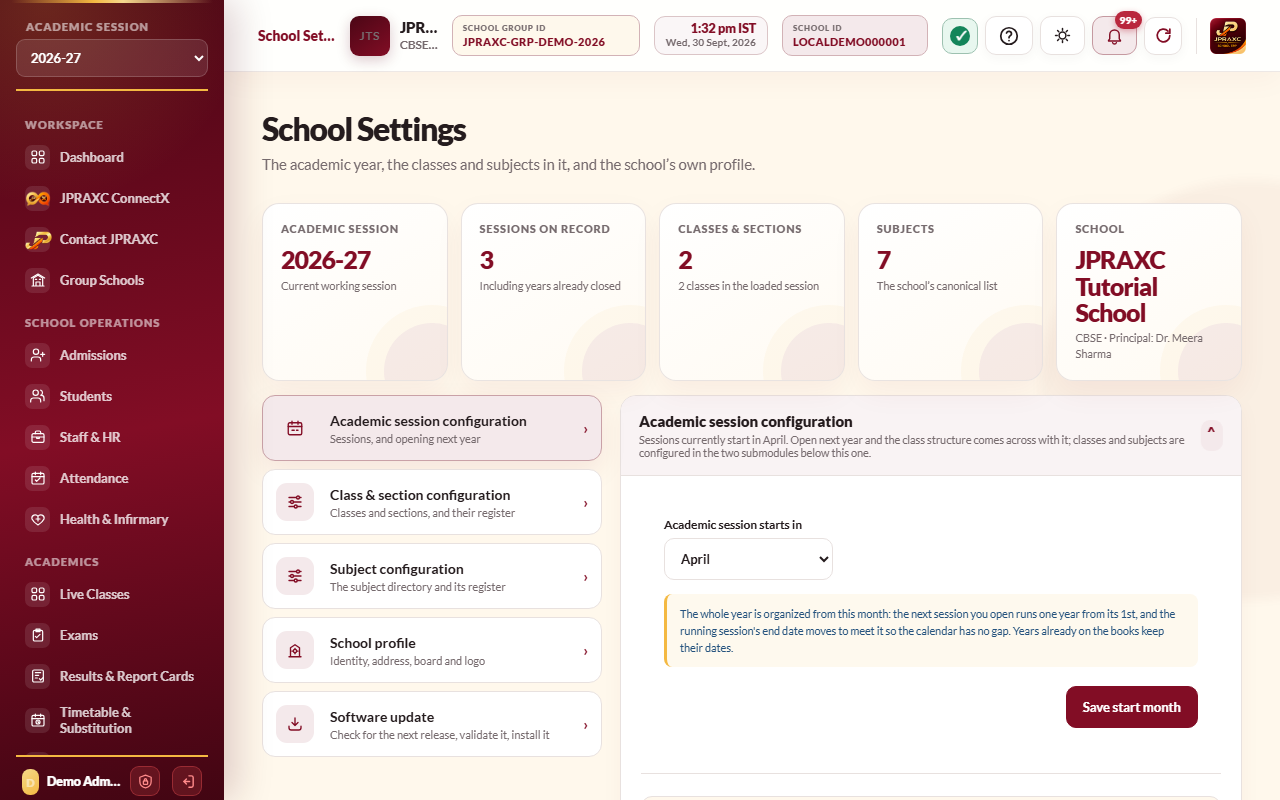
Everything in the ERP belongs to an academic session: classes and sections, attendance, exams, the timetable and fee records. This guide covers the year's setup in School Settings, opening the next year, moving between years in the sidebar, and promoting students into the new year at the end of the session.
Before you start#
- You need a role with the Settings permission to change sessions, classes and subjects, and the Students permission to promote students.
- Decide the month your school year starts in (for most schools, April).
Set the month the year starts in#
- Open School Settings › Academic session configuration.
- In Academic session starts in, choose the month.
- Select Save start month.
The next session you open runs for one year from the first of that month. Sessions already on record keep their dates.
Correct a session's dates#
- Open School Settings › Academic session configuration.
- In the sessions register, select Edit on the session.
- Change Starts on or Ends on and select Save dates.
The session label cannot be changed, because references and registers carry it. The new dates must not overlap another session.
Create classes and sections#
- Open School Settings › Class & section configuration.
- Choose the Class from the list (Play Group, Pre-Nursery, Nursery, LKG, UKG, then Class 1 to Class 12). Classes are picked from this fixed ladder, so one class cannot end up with two spellings.
- Type the Section, for example A.
- Select Create class & section.
- Repeat for every section. The Classes register below lists them in school order.
Use Edit or Delete on a row to change or remove a class and section. Class teachers are assigned from Staff & HR (see Staff and HR).
Create subjects#
- Open School Settings › Subject configuration.
- Choose a subject in Pick from the standard list, or leave it on Type a subject of your own.
- Check or type the Subject code and Subject name.
- Set Status to Active and select Create subject.
Subjects are used by admissions, the timetable, exams and report cards. Set a subject to Inactive rather than deleting it once it has been used.
Open the next academic session#
Do this before the year ends, so there is a year to promote students into.
- Open School Settings › Academic session configuration.
- Select Open next academic session.
- Read the message and select Create next session.
The new session starts where the latest one ends. Every class and section is carried across, ready to promote into. Subjects are shared by all sessions.
Switch between sessions#
The Academic session selector at the top of the sidebar decides which year every module shows. Choose another session and the whole workspace reloads for that year. Your choice is remembered on this computer.
Old sessions stay available for as long as your school keeps them. To download an old session and remove it, see Backup and session archives.
Promote a whole class#
- In the sidebar, choose the session you are promoting from.
- Open Students › Promote.
- Choose the Class and Section. Promoting into shows the next session. If it says No next session yet, open the next session first (see above).
- The class roll appears with every student ticked and Result set to Promoted into the next class. For the last class the result starts as Passed out.
- For each exception, change Result to Detained, Passed out or Transferred out, and change Next class · section if needed. Add Remarks if you want.
- Untick any student you are not deciding yet.
- Select Submit results, then confirm.
The ERP reports how many students were recorded and names any it could not move, with the reason.
Promote one student#
- Open Students › Student register and find the student.
- Select Promote on their row.
- Choose the Result. For Promoted or Detained, choose the Next class and Next section in the next session.
- Select Record result.
What promotion does#
| Result | What happens |
|---|---|
| Promoted | The student moves into the chosen class in the next session. |
| Detained | The student moves into the next session in the same class. |
| Passed out | The student leaves the roll. The record stays. |
| Transferred out | The student leaves the roll. A transfer certificate can be issued against this. |
When a student is promoted or detained:
- Unpaid fees carry forward. Unpaid school fees from every earlier session move into the new session, so they stay collectable even after an old session is removed.
- The hostel bed moves too. A student who holds a hostel bed keeps it in the new session.
- The student keeps one record with their whole history. Switch the sidebar to the new session to see them in their new class.
Undo a promotion#
- Open Students › Promote.
- Find the student in the Promotion register below the roll.
- Select Undo and confirm.
Undoing takes the student back to their earlier class and session, and takes the carried fees and the hostel bed back with them. A row that has been undone shows Undone.
Good to know#
- A student can be moved from a class only once in a session. Rows already recorded show greyed out with where the student went.
- Detained students stay in the same class name in the new session, in the same section when that section exists there.
- If the ERP could not carry the fees forward automatically, it says so after promotion. Use the carry-forward in Dues & Reminders (see Dues and reminders).
Troubleshooting#
| Symptom | What to do |
|---|---|
| Next session needed appears in the roll | Open the next academic session, then come back to Promote. |
| That session has no classes yet | Create the classes and sections in the new session, or open the next session again from the latest one. |
| A student is not on the Promote roll | Check the sidebar session and the class and section. Only active students appear. Students already moved from this class show greyed out. |
| A student was promoted by mistake | Use Undo in the Promotion register, then promote again. |
